Using VSTS to Build and Publish via Web Deploy
There’s a lot of information out there on how to use Visual Studio Team Services (VSTS) to build and publish to Azure websites, but not a lot on using Web Deploy, so here it is.
First, make sure you can successfully publish to Web Deploy via Visual Studio, because that’s what VSTS will use.
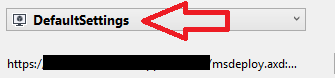
Take note of the name you use - you’ll need that in your VSTS Build step.
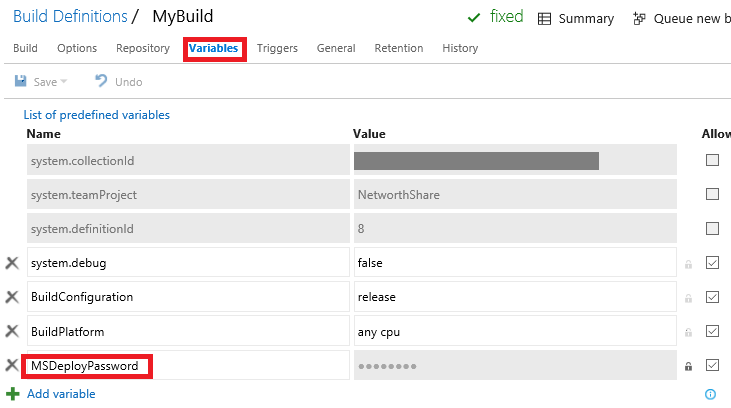
Start in VSTS by adding a variable for your MSDeploy password. Check the little lock icon so that it’s not shown in clear-text.
Add the following MSBuild Arguments to specify your publish profile, using the same name you specified in Visual Studio. 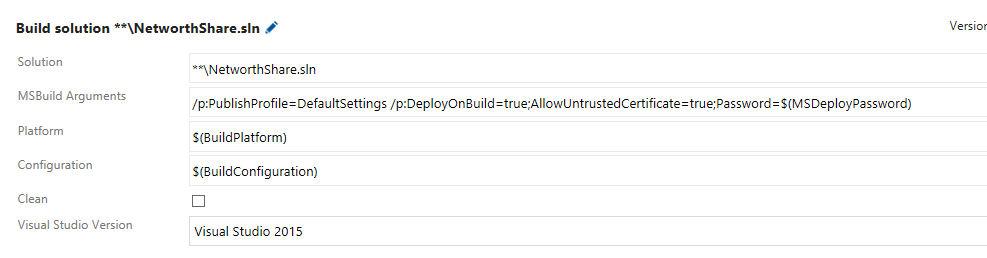
Initially I had “Default Settings” as my name which worked fine in Visual Studio, but the space in there caused problems when I ran it from VSTS so I renamed it.
“DeployOnBuild” is what triggers the publish.
“AllowUntrustedCertificate” might not be needed in your environment, depending on how it’s setup.
$(MSDeployPassword) is how to use the variable that was created earlier.
That’s it! Now, when you kick off a build in VSTS, it will publish your app to your Web Deploy target!