DIY Ice maker using a chest freezer
We go through a lot of ice - especially in the summer time boating, camping, or loading up a cooler to hang out with friends. I hate having to run to the gas station to buy ice at 5 bucks a pop, so having an ice maker in my garage is exactly what I wanted. First and foremost, all credit is due to this guy who is the source of inspiration for this project.
What’s the damage? $411.75. Not terrible, especially when you compare it to the purchase price of a commercial ice maker, and the costs associated with running them full time.
Build sheet (downloadable file with links & more details are at the bottom of this post):
$222.92 Chest freezer
$136.02 Two ice makers
$16.87 4' angled aluminum
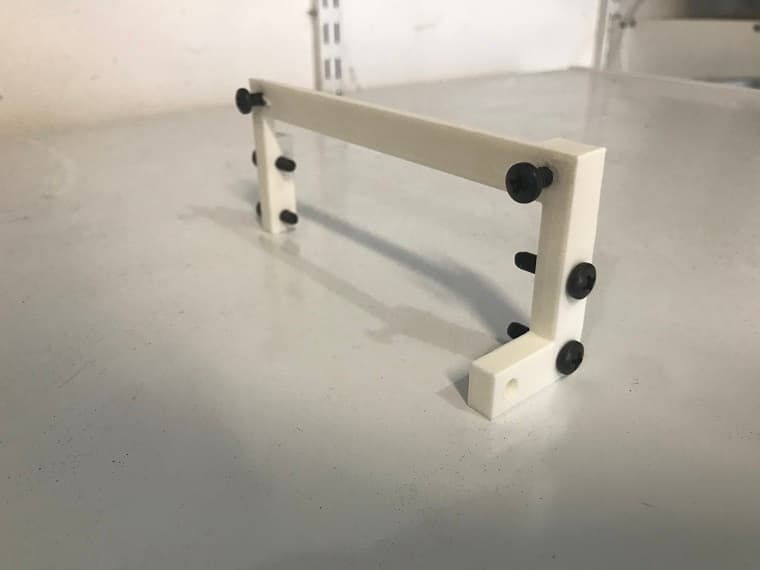
$0.00 Ice maker hanging brackets (3d printed)
$13.91 25' spool of 16/2 lamp wire
$18.44 5m of 1/4" OD plastic tubing & 1/4 OD quick connect assorted fittings
$3.59 GE "Gaps & Cracks" insulating foam
$0.00 Miscellaneous parts I had laying around & tools used: wire nuts, spade connectors,
electrical tape, hacksaw, drill, heat gun, soldering iron, a junction box cable clamp.
=======
$411.75
Step 1: I plumbed the water supply line from my basement (coming out of a reverse osmosis filter) with a shut-off valve in the basement, along with another shut-off valve in the garage and finally a 3rd shut-off right by the freezer itself. Okay, step 1 done. Then I procrastinated a few months because you can never have too many half-finished projects.
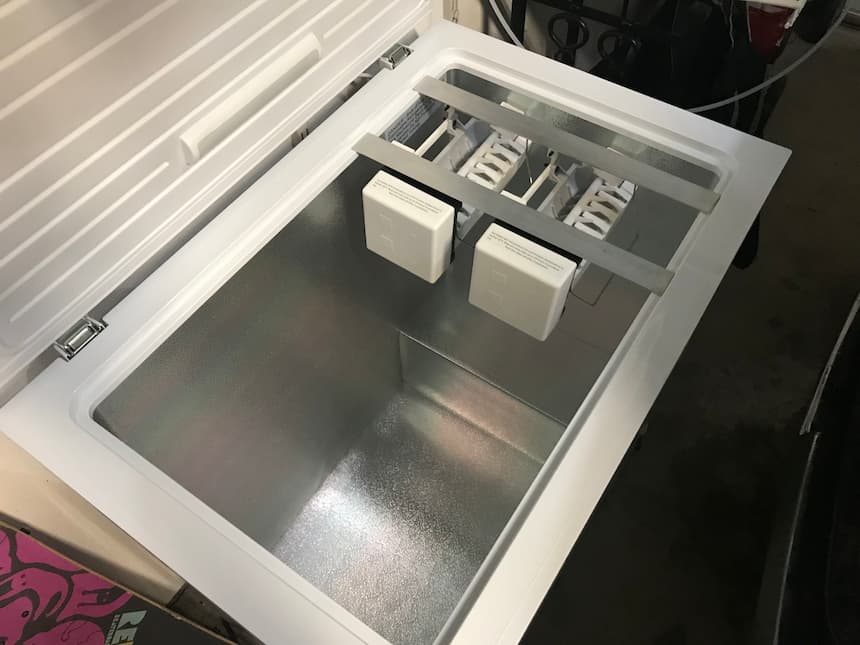
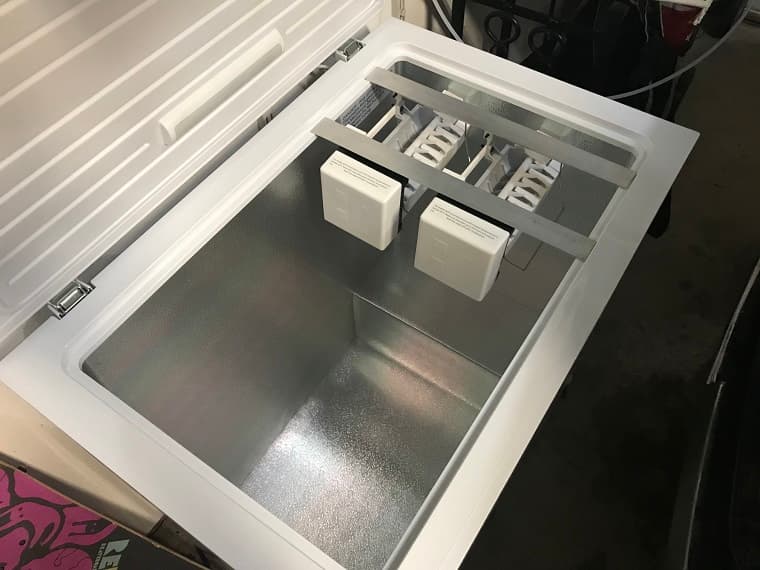
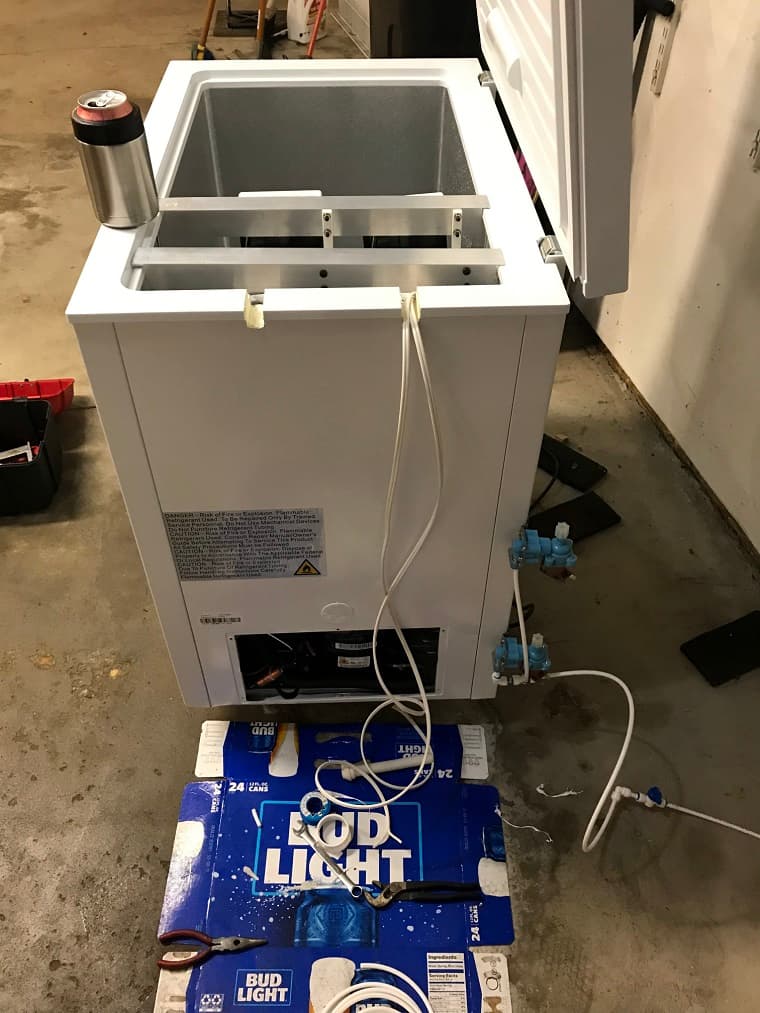
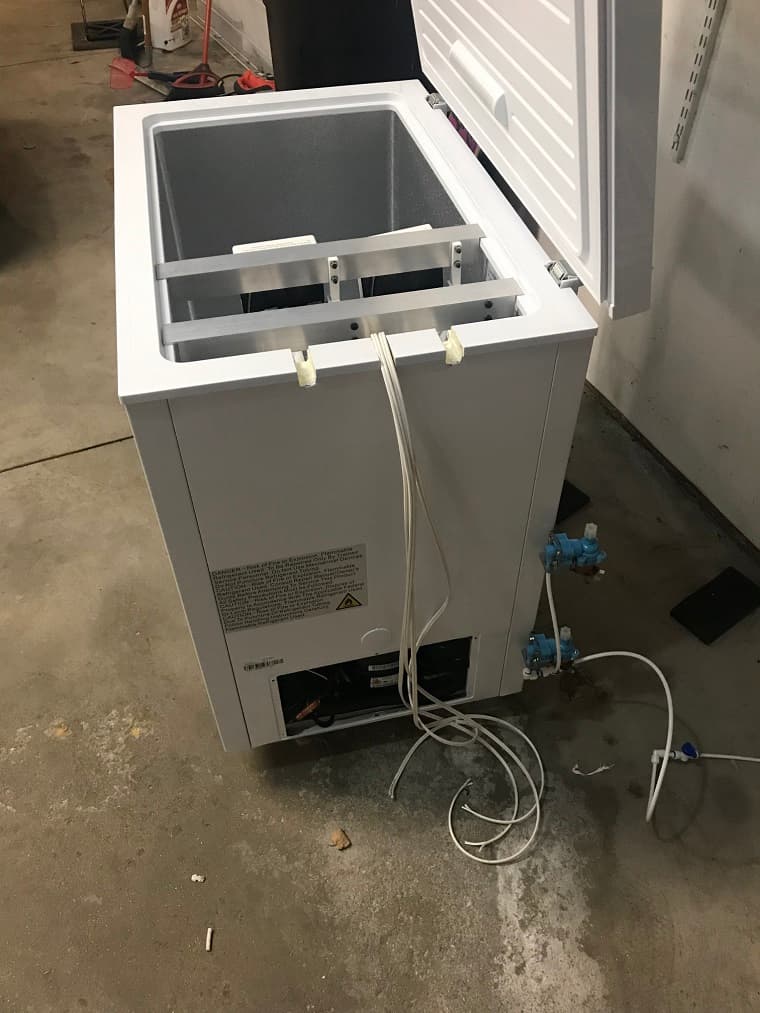
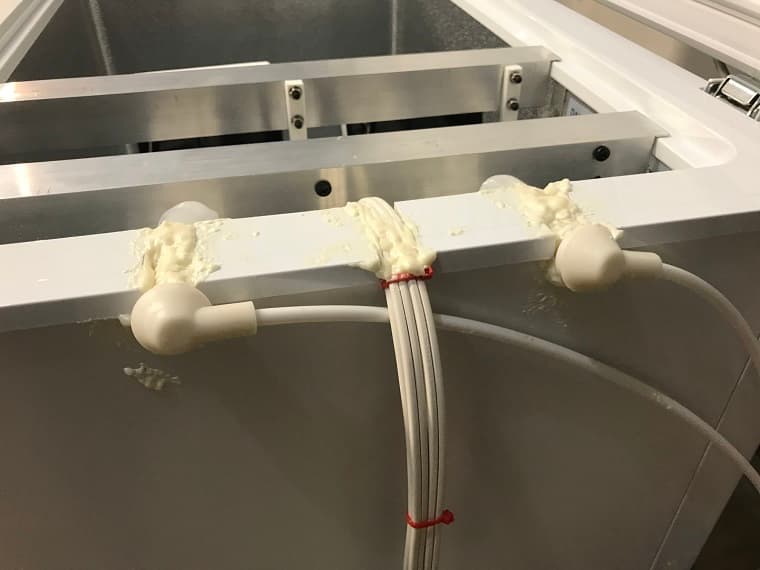
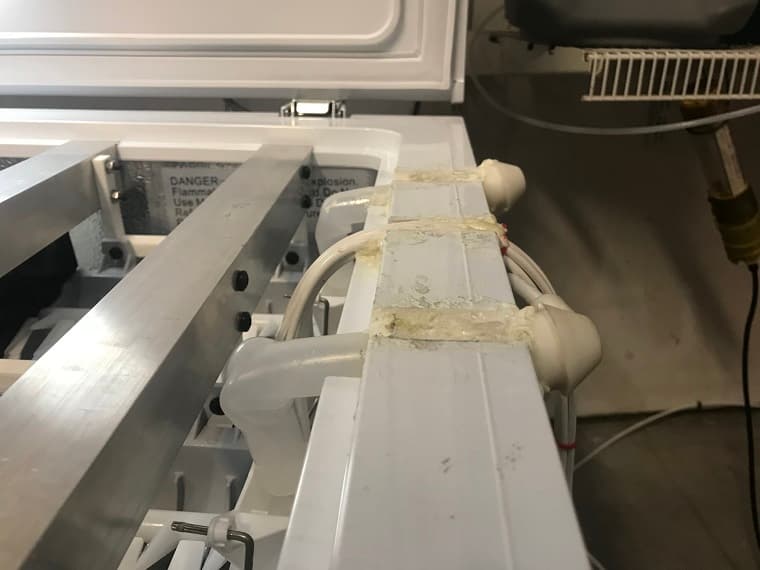
Step 2: I went with aluminum over steel because I didn’t want to worry about rust & it looks nice. I also chose angled material because I could use thin (1/16") material and it still doesn’t flex under load. I notched the angled aluminum so it hangs nicely across the span of the freezer. I designed & 3d-printed some brackets to mount the ice maker to the aluminum. I don’t have a close-up picture of the final bracket, but they are beefier than the one pictured here. They’re rock solid. I ran a 3/16" drill bit through the holes to give them a clean finish and that is the perfect size for an M5-sized bolt. One thing to note - the motor-end of the ice maker is significantly heavier than the water-feed end, so take that into consideration when hanging them.

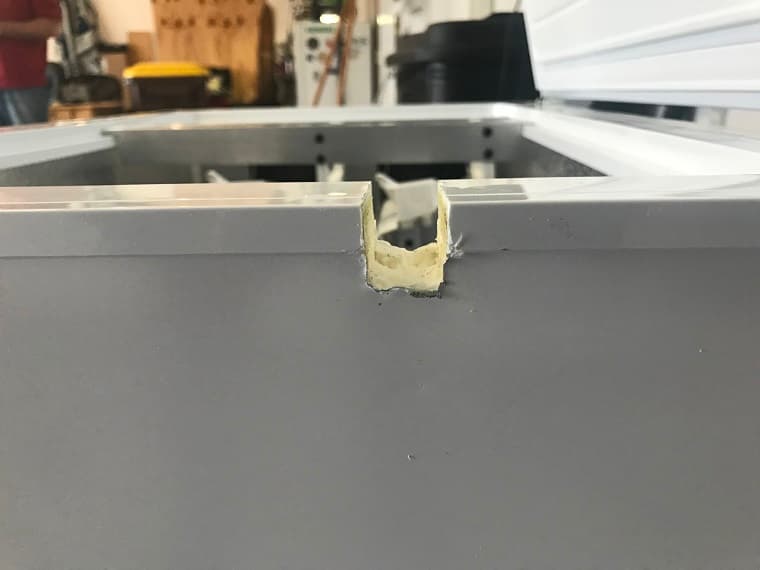
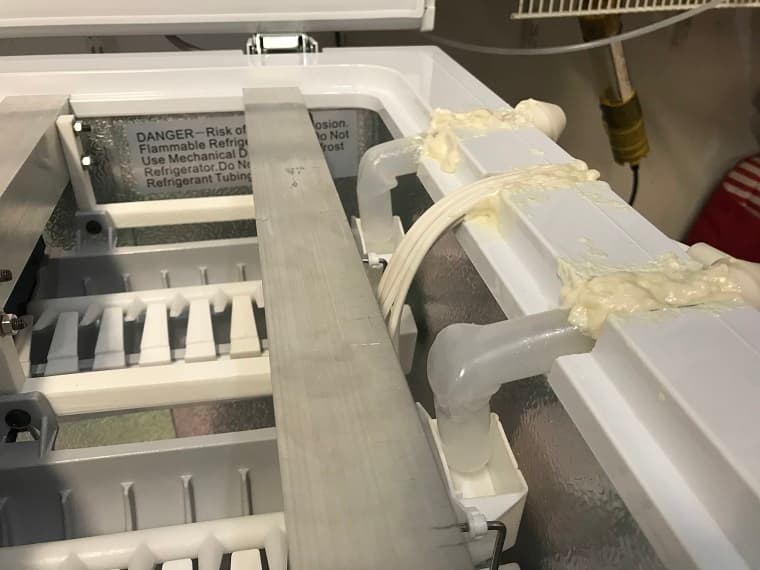
Step 3: WARNING. “Risk of fire or explosion due to puncturing refrigerant tubing”. I was more than a little nervous about grabbing the hacksaw, but dammit we need ice. Very slowly, I cut a notch for the first ice maker, then the 2nd, and ultimately the wire notch (which didn’t need to be as deep as the water supply notches). You’ll want to file/smooth down any exposed rough metal edges so you don’t slice open a wire, or water supply tube. No explosions were had, but a couple celebratory beers were.
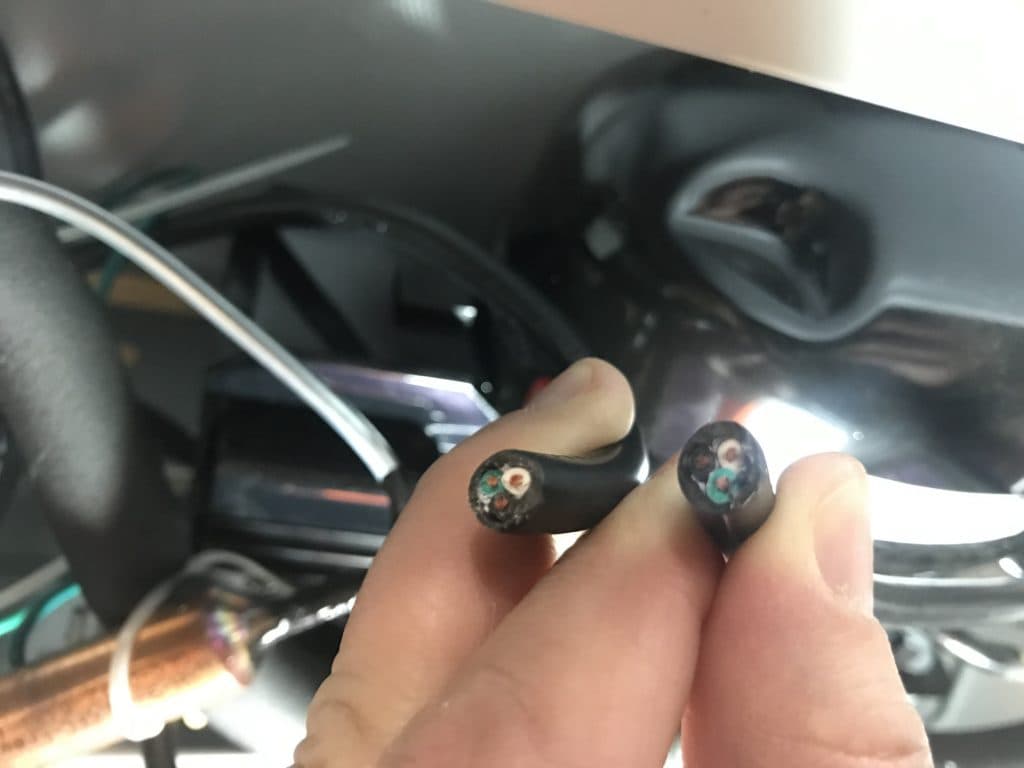
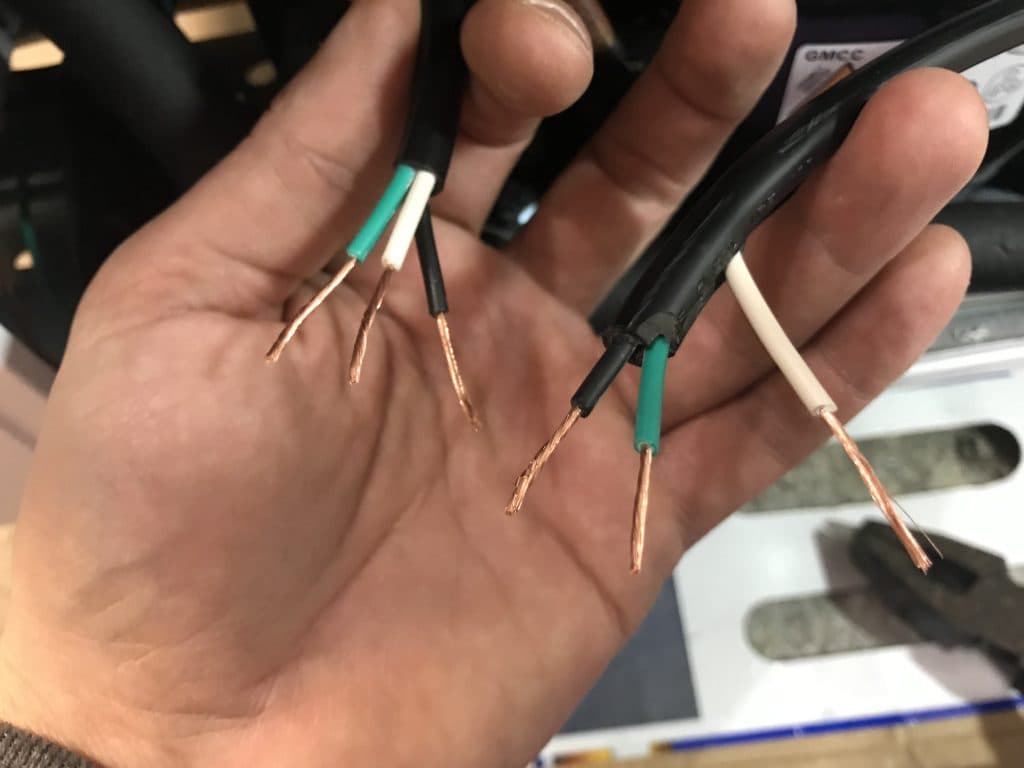
Step 4: I cut off the (unused) 4-pin connector from the wiring harnesses and soldered in the lamp wire noting (just as the guy in the video did) which wires were hot, ground, neutral, and valve-signal. I took a 30-minute detour re-attaching one of the wires I accidentally clipped at the wrong end of the harness. Perhaps I should have had one less celebratory beer. Anyway, once those were wired, I plugged the harnesses into the ice makers and routed the wires through the notch.
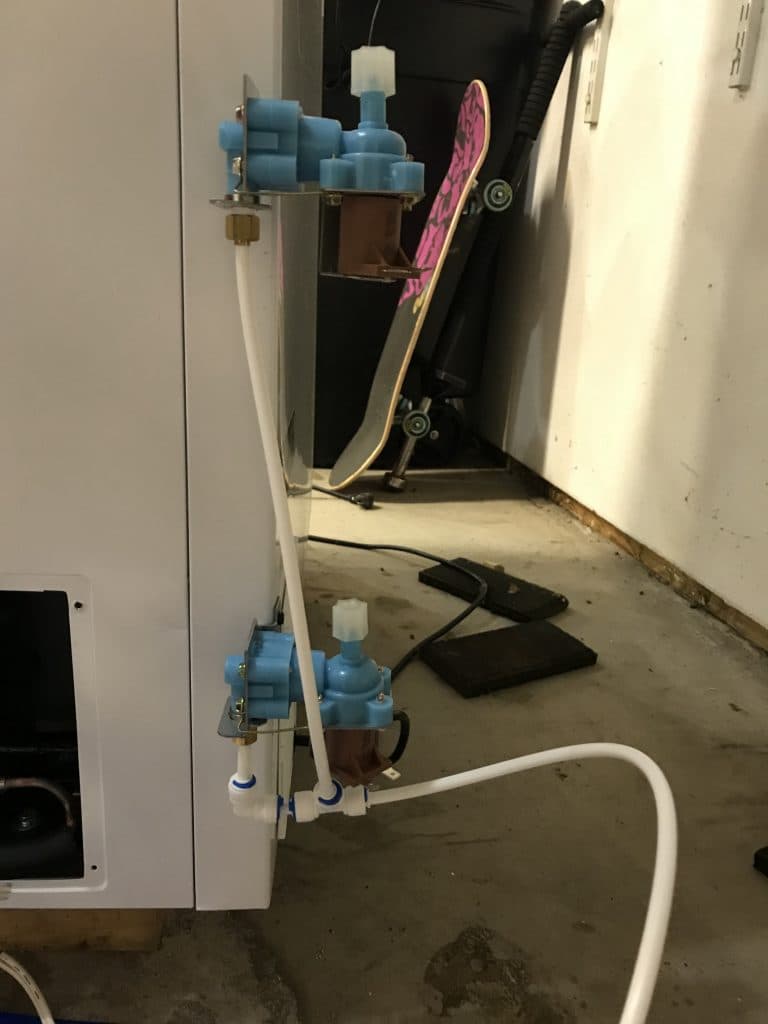
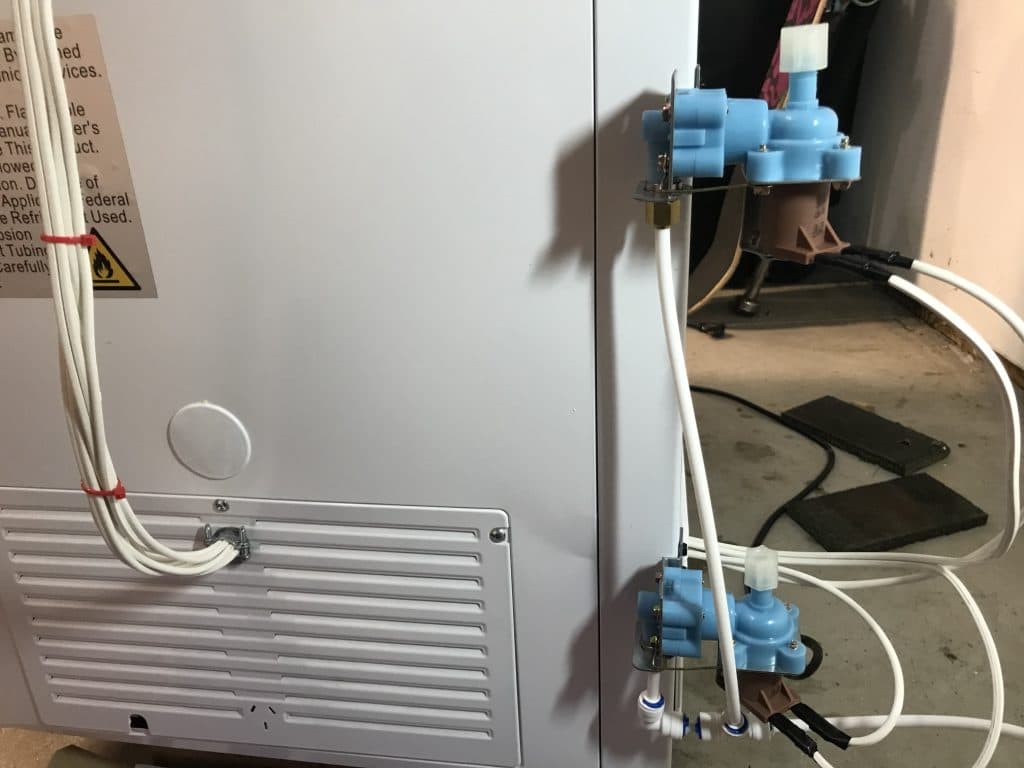
Step 5: I was again nervous drilling into the back of the maker for fear of puncturing a tube, but I felt it was unlikely that they’d have tube right at the corner. I drilled super-shallow pilot holes and then mounted the water valves with 4 computer case screws I had laying around. I tee’d off the plumbing and connected both water valves with PTFE tape around the threads.

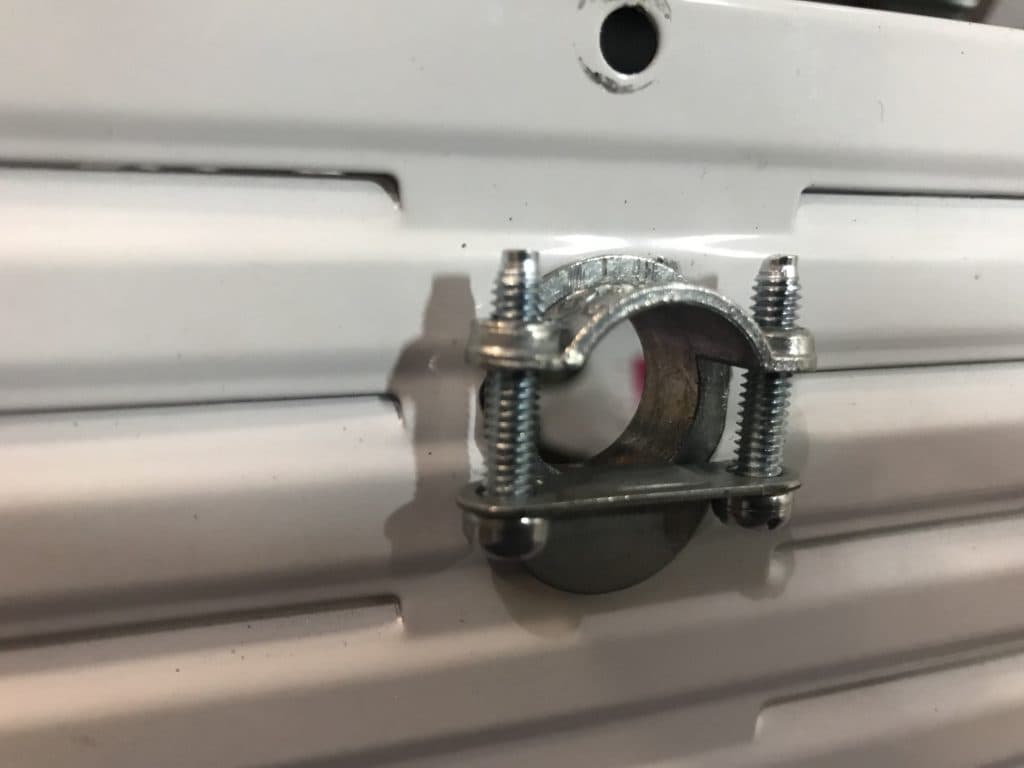
Step 6: Time to wire up the bottom end. This part of the video he sorta hand-waves over, like when they fast-forward a cooking show and the turkey’s all done. With that said, he does a good job describing what goes where.. I had a junction box wire clamp, which I highly recommend, or at least some sort of grommet, which made entry into the metal vent stress free. Like any good project, nothing goes exactly to plan. I didn’t have the right sized drill bit (I needed a 3/4" hole, only had a 1/2" bit) so I had to drill at and angle, jack around with a file, bash my leg, slice my hand, you know, the usual. Back to the wiring…green-to-green, black-to-black, white-to-white…piece of cake. The real pain was that there’s not a lot of room to work with, and once the power wire is cut, it becomes apparent that they aren’t going to go back together nicely once all the other wires are attached. I used some lamp wire to “extend” the connections and give myself a little breathing room. That’s why there’s a hodgepodge of wire nuts. I had the valve-signal wires route through that side vent along with the other wires, but then they immediately take a turn and rout out the rear vent. You need to splice in two additional white (hot) wires to power the water valves, so that’s two more white power wires that need to get added. (Did I mention the hodgepodge?) I tucked all the wires away, and screwed the side vent panel back on. After attaching the spade connectors to the water valve, the wiring was complete.
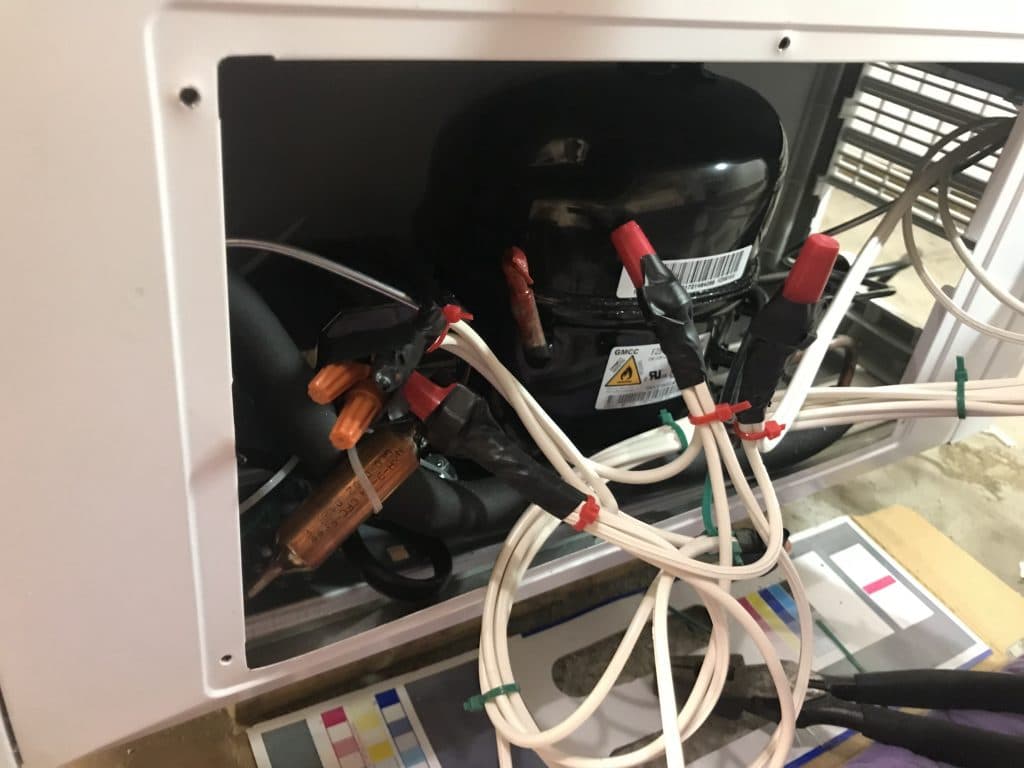
Step 7: I didn’t have a torch, so instead I used a heat gun to heat up the clear plastic water supply tube. I bent it just like he did, blowing in the tube to keep it from collapsing while also trying not to burn my face off. As soon as I had a good bend, I tossed it in the fridge for a couple minutes to cool off. I trimmed it down, connected the white rubber piece where the water supply line feeds in, and ran the final bit of water tubing down to the water valve. Rinse & repeat for ice maker #2.
Step 8: I checked the final fit of everything & hit it with expanding foam. The can says to only use 1/3 the amount of foam for the space you need to fill, and all I can say is, “this is not a precision sprayer”. I had foam f&cking everywhere. I cleaned a bunch of it up with paper towels right away, and came back about 45 minutes later while it was still tacky to “mush/mold” it into place a bit nicer. Several hours later I cleaned it up with a razor blade to ensure the top would close/seal tightly. This is the ugliest part of the project so eventually I’ll give it a good sanding/cleaning/paint, but for now, it’s good enough.
Narrator: “It’s going to be like this forever.”
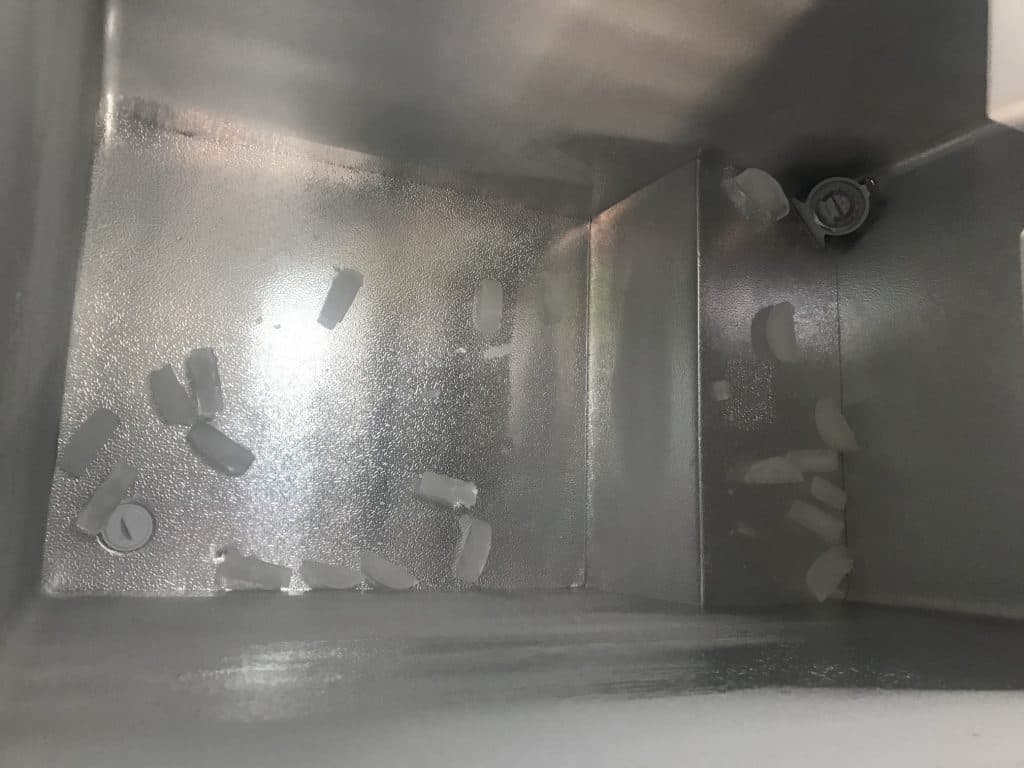
Step 9: I turned on the water and checked for leaks (again). Everything was good so I plugged in the freezer and kept checking it like a maniac every 15 minutes waiting for the temperature to drop below 10 degrees Fahrenheit (that’s when the ice makers start functioning). It took a couple hours before the ice makers actually started producing ice, but here in all its glory, are the first couple batches:
Build sheet with more details & links to stuff I used (generic links, not affiliate links or BS like that):
DIY-chest-freezer-ice-maker-build-sheet | Download