Every year my coworkers and I (and all of our families) attend ThatConference. It’s a family-oriented tech conference in Wisconsin, and it takes place at a gigantic water park. If you haven’t heard of it, you absolutely have to check it out. I’ve been going since 2012, and I can’t say enough good things about it.
About a week before the conference this year, I thought
It’d be cool to connect with other people who are interested in MAME.
After several iterations of MAME Front-ends, I think I’ve landed on something I can call “Done” (for now!)
History
2006 I used MameWAH 2007 I wrote my own front-end in VB.net, based on MameWAH (before it was open-sourced) 2010 Attempted a GPU-accelerated Silverlight front-end 2011 Created WomPF!, a WPF front-end with a rotating game-selector 2014 MAME Iron was born when I scrapped everything and rewrote from the ground up in C# 2016 MAME Iron becomes motion-activated with voice-recognition 2017 Scrapped everything again and rewrote from the ground up in WPF, this time with a focus on UI as well as UX.
I picked up a TV wall-mount bracket from Menard’s for like $6. The bracket has a handy built-in bubble level and I attached it to a 2x4. When I attached it to the sides of the cabinet, I only used one screw on each side (at the top of the 2x4) at first. This allowed me to hang the monitor on the bracket & pivot the 2x4 until I was happy with the angle that the monitor was sitting at.
The final post in a 3-part series showing off some tech I recently added.
I thought it would be cool to walk up to my MAME arcade cabinet, say “Play Pac-Man” and magically have that game start playing…so I did that, sorta. I have to press a button for it to start listening, but hopefully I can remove that and have it “always listening” (muhaha).
Here’s a quick video showing it in action, with my awesome 7-year old assistant If I say something like “Play Mortal Kombat”, MAMEIron will recognize that there’s more than one Mortal Kombat, and pop up a menu with the various flavors of Mortal Kombat (1, 2, 3, 4, Ultimate MK3, etc.
The second post in a 3-part series showing off some tech I recently added.
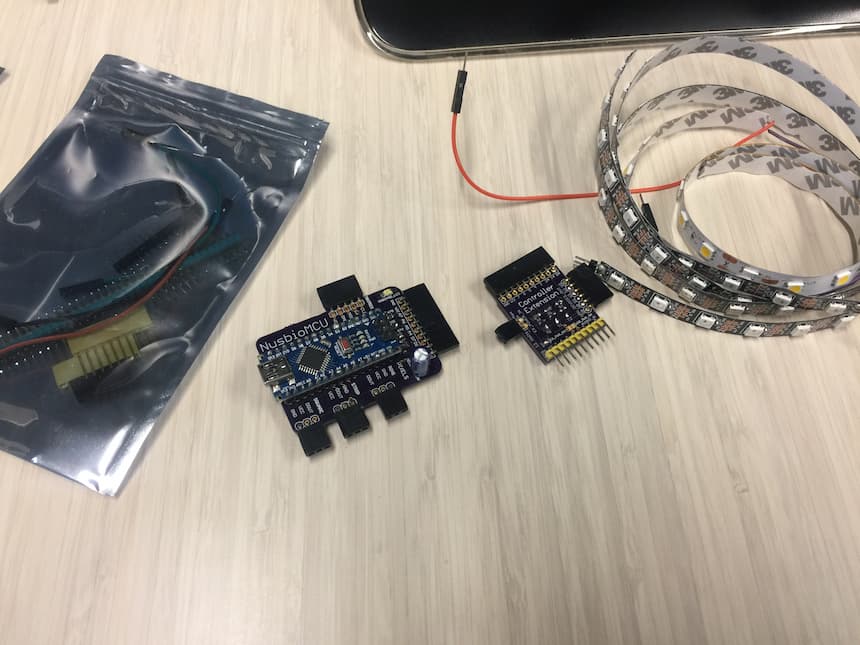
I wanted the cabinet lights to turn on when I walked up to it so I ordered some goodies from MadeInTheUSB.net (They sell a bunch of components that plug in via USB, and can be controlled via C#). Before I continue, I have to plug this company because of the amazing service I received.
I wasn’t sure exactly what I needed, but after exchanging a couple emails, I placed an order.
The first post in a 3-part series showing off some tech I recently added.
I wanted the arcade to “turn on” whenever someone walks up to it, so I wired up my MAME front-end, MAMEIron, to the webcam. Whenever someone comes into view of the webcam, or it senses a change in the environment (like a light turning on), the cabinet will “turn on” by fading from black into the front-end, with a little boot-up-sequence sound effect :)
I’ve been hesitant to seal up my cabinet because I had a major hurdle to overcome. My monitor. I have no way to turn it on without pressing the power button.
Well, (I’m embarrassed to even admit that I hadn’t checked long ago), the monitor will remember its on/off status if I kill power to it. This doesn’t really make sense to me, since it has a momentary type switch (as opposed to a regular on/off switch), but whatever…I’ll take it.
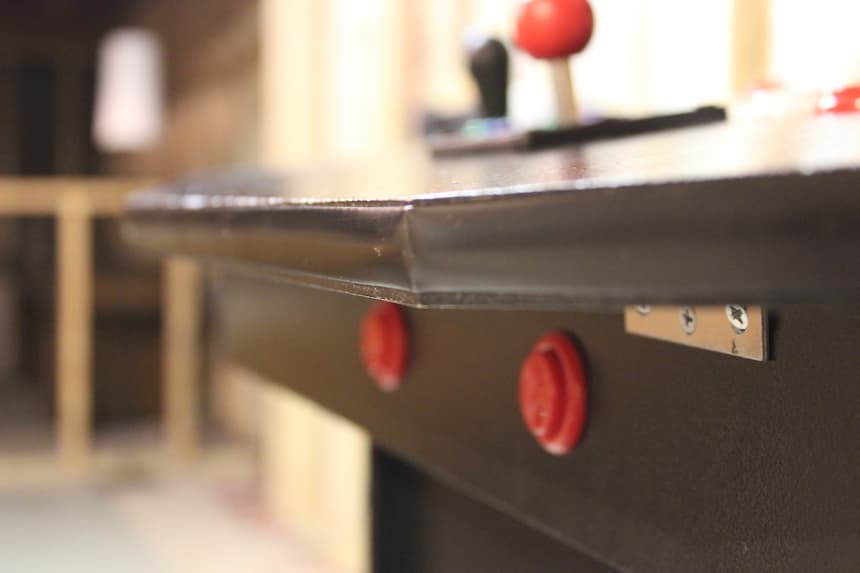
I’ve had these cup holders for a couple years, and I finally got around to putting them on. They have a nice gap in the side to allow for beer mugs coffee cups to fit right in. They also have a little drain at the bottom for when you’ve had too many “coffees” and can’t manage to remove your beverage without spilling it ;)
I’ve had this T-molding even longer. It took me a long time to find the right router bit (kinda pricey at ~$25, and I wasn’t 100% sure it was the right one), and I couldn’t cut the groove until I had everything painted.
I’ve made a lot of progress recently, and can see the light at the end of the tunnel.
After painting it, I reassembled it. I couldn’t bring myself to put the 25" tube tv back in, so instead I used a 22" LCD I had laying around. I’m more than happy with that decision. After numerous weeks’ worth of hard drive/raid/motherboard issues, I performed a midnight heart transplant and got everything working just in time for a party we were having.
What’s old is new again. I revived my old VB.NET front-end, rewrote it in C#, and named it MAME Iron.
Why MAME Iron you ask? It’s a MAME Front-end (Fe) and Fe is the symbol for Iron on the Periodic Table of Elements, of course!
Since I decided to ditch my 25" tube TV for a 22" LCD, I have a lot more pixels to work with. I also don’t have to use Comic Sans in Cyan anymore (the only font/color that would show up on that old, low-res display).
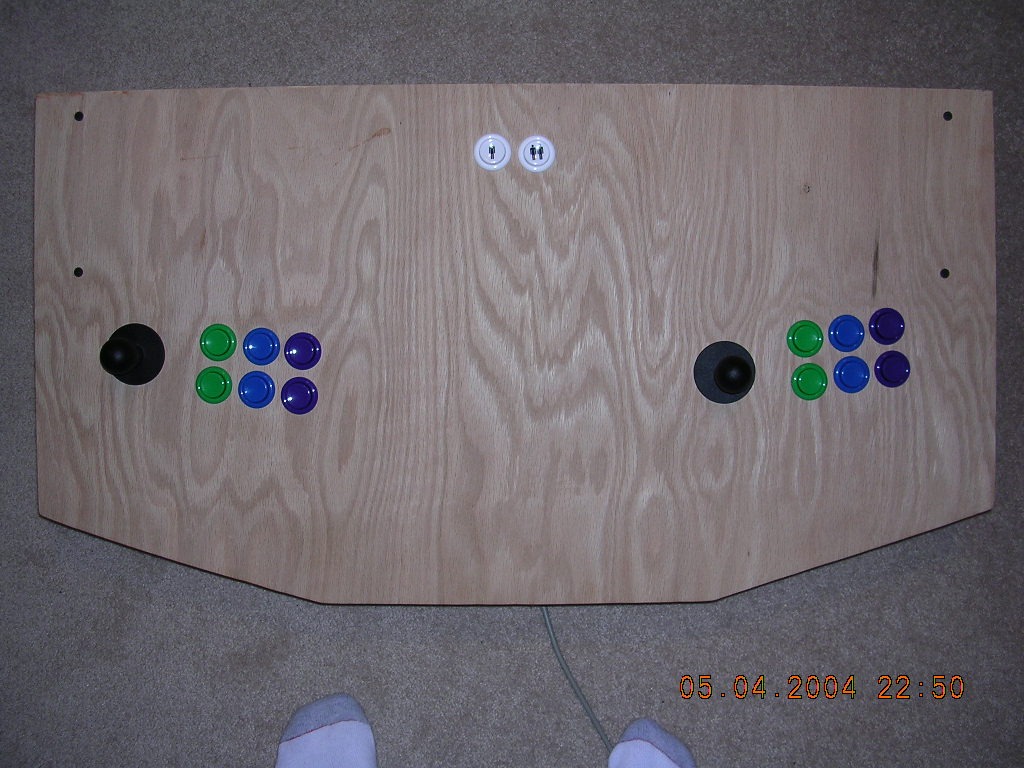
I built a new control panel since the previous one I had built was a proof-of-concept. This one is the same size and layout, but made with 5/8" MDF instead of the 3/4" oak laminate I had originally used.
I added a cutout in the middle for a 4-way joystick, and left a little room to the right of it for two buttons (to be added later).
I primed all the pieces, and they’re ready for paint.
Well, the new front-end has a name: WomPF!
It doesn’t really stand for anything other than the fact that it was written in Windows Presentation Foundation (WPF), and it’s kind of fun to say.
This is a screenshot I snagged after I got the rom pictures/descriptive text to display. The list of games spins left/right. It takes a couple seconds for WomPF! to load up, but once it’s loaded, its FAST.
Since I’ve moved to Windows 7, I had to make a few software changes.
To make Windows load custom software instead of using the default Explorer shell: Use Regedit to change the value at HKEY\_LOCAL\_MACHINE\\SOFTWARE\\Microsoft\\Windows NT\\CurrentVersion\\Winlogon from “explorer.exe” to the program of choice. In my case, I’m using my custom MAME front-end (my old VB.net one, not the new snazzy WPF one), which happens to be in my C:\MAME folder.
Finally cut the slanted top/rear piece of the cabinet. The big hold-up was the table saw my dad gave me; I couldn’t figure out how to get it to cut the 45’s I needed.
It turns out the handle to unlock the blade is reverse-threaded (and unlabeled), so it took me a while to figure it out. (and by figure it out, I mean swear up a storm, throw things, and cracking the plastic handle).
I modified one of Oscar’s high-res MAME graphics to get rid of the purple flames & I added some white text with a blue glow to it. I scaled it down to the necessary size & had a friend print two different marquees. One is on 3/8" white acrylic, the other is on (I think) 1/4" clear acrylic. I won’t really be able to tell which one is better until I mount the 24" fluorescent light (which is wired & ready to go).
Since I’m putting a 27″ TV in here, I wanted the shelf to be beefy. I made a 2×4 box frame and screwed an oak piece on top. The box frame had to be at a pretty steep angle for the TV to sit at a comfortable viewing angle, so I put another 2×4 behind the TV that the sides screw into. It gives the cabinet more support & keeps the TV from sliding off the shelf.
I am currently using a customized version of MAME 1.07 with MAMEWah v1.61 as a frontend. I had to modify the MAME source code to convert upper case game names to lower case (MAMEWah v1.61 passes game names in upper case but MAME 1.07 and above won’t run them). I also got rid of the annoying copyright screen, since I don’t want to see it every time I start a game.
This is the first MAME Arcade control panel I built. I used a 3/4" sheet of Oak laminate, which, in retrospect, was a huge mistake. It likes to splinter when you drill holes in it. I know (now) that there’s some woodworking tricks like running a bit in reverse, etc., to prevent splintering, but I didn’t know those at the time.
I purchased all the parts from Happs Controls & threw this box together.